Kill AXML - Programmatic ListViews in Xamarin Android

Displaying list data in Android using a custom layout is traditionally accomplished by inflating an AXML file for each row of data. However, in my article introducing EasyLayout.Droid I made the case that AXML files slow development speed and decrease cross platform re-usability.
In this article, I'll show how to build custom Android ListView's 100% programmatically, and hopefully I'll convince you that the results are cleaner, more modular, and more maintainable.
Misguided Guidance?
Displaying a list of data in Android with one of the built-in row views, such as SimpleListItem1 for a single line of text or ActivityListItem for text plus an image, is well documented and fairly straightforward.
But to display list data using a custom layout, the Xamarin documentation makes it sound like you're best off using an AXML file:
The four built-in row views are very simple. To display more complex layouts (such as a list of emails, or tweets, or contact info) a custom view is required. Custom views are generally declared as AXML files in the Resources/Layout directory and then loaded using their resource Id by a custom adapter. The view can contain any number of display classes (such as TextViews, ImageViews and other controls) with custom colors, fonts and layout.
Then later in the documentation it sounds like you're required to use an AXML file:
Another AXML layout file is required to contain the custom layout for each row that will appear in the list view.
In fact, not only are AXML files optional, but if you follow the guidance in the documentation you'll end up with code that isn't SOLID.
All Other Ground is Sinking Sand
The documentation includes the following example that illustrates the best practice of view recycling, whereby an AXML file is only inflated when absolutely necessary (i.e. view == null), and the rest of the time the view is reused and subviews are extracted and updated.
public override View GetView(int position, View convertView, ViewGroup parent)
{
    var item = items[position];
    View view = convertView;
    if (view == null) {
        // no view to re-use, create new
        view = context.LayoutInflater.Inflate(
            Resource.Layout.CustomView, null);
    }
    view.FindViewById<TextView>(Resource.Id.Text1)
        .Text = item.Heading;
    view.FindViewById<TextView>(Resource.Id.Text2)
        .Text = item.SubHeading;
    view.FindViewById<ImageView>(Resource.Id.Image)
        .SetImageResource(item.ImageResourceId);
    return view;
}
I have a couple of problems with this code:
- Where would you add an event subscription if the view required a button?
- Where would you initialize the font size, font family, or color of a text view if you wanted to share the code between iOS and Android?
- How would you handle making subtle changes to the UI based on the type of item?
The correct answer to #1 and #2 is that all one-time setup code belongs inside the if statement. If, for example, you were to put an event subscription along-side the FindViewById statements you would be in for a nasty surprise if you tapped the button after scrolling up and down the list a few times (let alone how and when would you unsubscribe).
The correct answer to #3 is that you'd have to put an additional if statement outside of the 1st if statement, and in the process, violate the Open/Closed principle of SOLID.
The example also violates the Single Responsibility principle of SOLID in that it combines setup code that occurs infrequently and view recycling code that occurs quite frequently.
So, while the code above looks innocuous enough, it encourages you down a bad path whereby you're liable to violate several tenants of SOLID.
A World Without XML
I'm proposing keeping the view recycling -- except, instead of inflating the view from AXML, you'll instantiate a custom view. Then, instead of pulling sub-views out of the inflated view and updating them with FindViewById() you'll just ask the view to update itself:
public override View GetView(int position, View view, ViewGroup parent)
{
    var productRowView = view as ProductRowView ??
        new ProductRowView(_context);
    var product = _items[position];
    productRowView.Update(product);
    return productRowView;
}
GetView() is now shorter and much cleaner because it has fewer responsibilities -- mostly determining when to instantiate a new view (not how to do it) or when to update a view (and not how to do that).
We've moved all remaining logic into a dedicated class called, in this example, ProductRowView. Infrequent, one-time setup code is now the responsibility of ProductRowView's constructor, and frequent view recycling code is the responsibility of the Update() method.
Plus, we could now easily subclass ProductRowView if we had different display needs for different types of products (it's more SOLID).
I suspect Uncle Bob Martin would be very happy with this change.
Where's the Beef?
ProductRowView now looks fairly similar to any 100% programmatic custom view. One difference is it inherits from RelativeLayout, so you can (optionally) use EasyLayout's ConstrainLayout() call.
public class ProductRowView : RelativeLayout
{
private TextView _titleText;
private TextView _dollarText;
private TextView _amountText;
public ProductRowView(Context context) : base(context)
{
SetViewProperties();
AddViews();
ConstrainLayout(this);
}
private void SetViewProperties()
{
var height = ViewUtils.DpToPx(Context, 40);
var width = ViewGroup.LayoutParams.MatchParent;
LayoutParameters = new ViewGroup.LayoutParams(width, height);
}
private void AddViews()
{
_titleText = this.Add<TextView>();
_dollarText = AddDollarText(this);
_amountText = this.Add<TextView>();
}
private static TextView AddDollarText(ViewGroup parent)
{
var dollarText = parent.Add<TextView>();
dollarText.Text = "$";
dollarText.TextSize = 8;
return dollarText;
}
private void ConstrainLayout(RelativeLayout relativeLayout)
{
relativeLayout.ConstrainLayout(() =>
_titleText.Left == this.Left + 20
&& _titleText.Top == this.Top + 10
&& _titleText.Bottom == this.Bottom - 20
&& _amountText.Right == this.Right - 20
&& _amountText.Top == this.Top + 10
&& _amountText.Bottom == this.Bottom - 20
&& _dollarText.Right == _amountText.Left
&& _dollarText.Top == _amountText.Top
);
}
public void Update(Product product)
{
_titleText.Text = product.Title;
_amountText.Text = product.Amount.ToString("0.00");
}
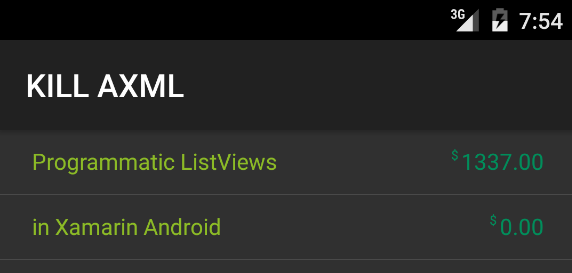
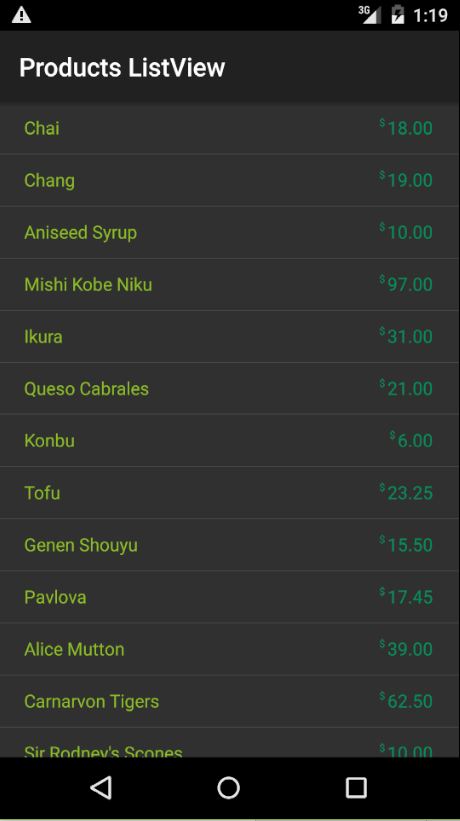
}The result looks like this:
To help with long-term maintainability I've organized this into three high-level methods:
- SetViewProperties()
- AddViews(); and
- ConstrainLayout()
Also, I've tried to keep one line per view instantiation in AddViews(). For example, AddDollarText() is a method that is solely responsible for instantiating a single view.
This small method approach may appear at first glance to be more work than worth. However, I would highly encourage this approach because I've found that if you aren't careful when creating a new 100% code-based view, over time it will become long and gnarly with methods spanning hundreds of lines.
Does this approach actually seem cleaner? Consider the following questions:
- If you wanted to extract the color of the amount label into a cross platform variable, where would you initialize that color?
- How would you handle buttons with event subscriptions?
- What if you needed to display an OutOfStockProduct using a completely different style of dollar and amount labels (subtype the view maybe)?
I hope you'll agree the answers are generally more obvious, that the design has more flexibility, and that this sets future maintainers up for success.
Summary
Hopefully this helps with how to build list-based UI's on Android without the AXML. You can see the full example on github in ViewProductsActivity.cs.
I hope you'll consider taking the technique for a spin and deciding for yourself if your next Android project would be better without the AXML.