Deploying Next.js with Firebase Hosting: A Step-by-Step Guide
InfernoRed software engineer and "Assistant to the Regional Coder," Miguel Garcia, explains how to deploy a Next.js app using Firebase Hosting with GitHub integration.
In this blog post, I'll guide you through deploying a Next.js app using Firebase Hosting with GitHub integration. This simplified guide will help you get your web app live and easily managed with automated deployment pipelines in detail.
Note: If you are an intermediate or expert developer, some steps might seem boring or over-explained. Remember this was designed to inspire and motivate developers of all levels.
Prerequisites
Before starting, make sure you have the following:
- GitHub Account: Sign up for GitHub
- Gmail Account: Create a Gmail account
- IDE: Visual Studio Code is recommended. Download
- Node.js: Install Node.js from the official website
- Firebase Account: Set up Firebase at Firebase Console
- React: Basic understanding, not included 🧃 on this blog.
Step 1: Create a GitHub Repository
Go to your GitHub account and create a new repository.
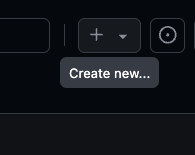
Name your repository (e.g., web-book-shelf) and initialize it with a README if desired.
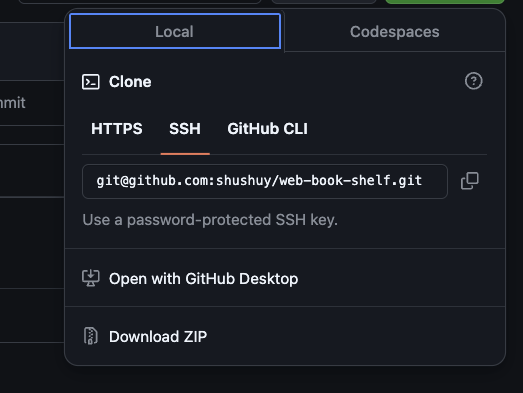
web-book-shelf as nameCopy the SSH URL of your repository (you’ll need this later).
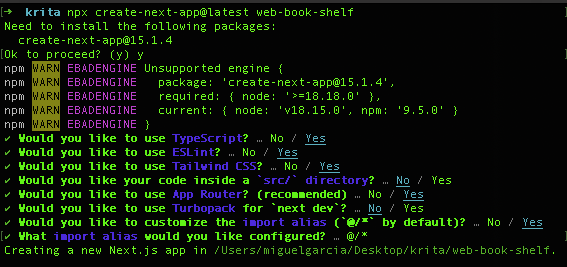
Step 2: Set Up Your Next.js Project
- Create a Next.js project on your desktop, choose your preferred setup options, or follow my recommendation if you still don't know what you are doing. Using
npx create-next-app@latest web-book-shelf: - This is my “to go” selection of options for Next JS, however, you should use what you feel more comfortable with:
- Verify your setup is running:
npm run dev
- Link your project to GitHub:
We need to link the project in GitHub with the local one with git remote add, then add the new changes and push them:
git remote add origin git@github.com:your-username/web-book-shelf.git
git add .
git commit -m "Initial commit"
git branch -M main
git push -u origin main
Step 3: Configure Firebase Hosting
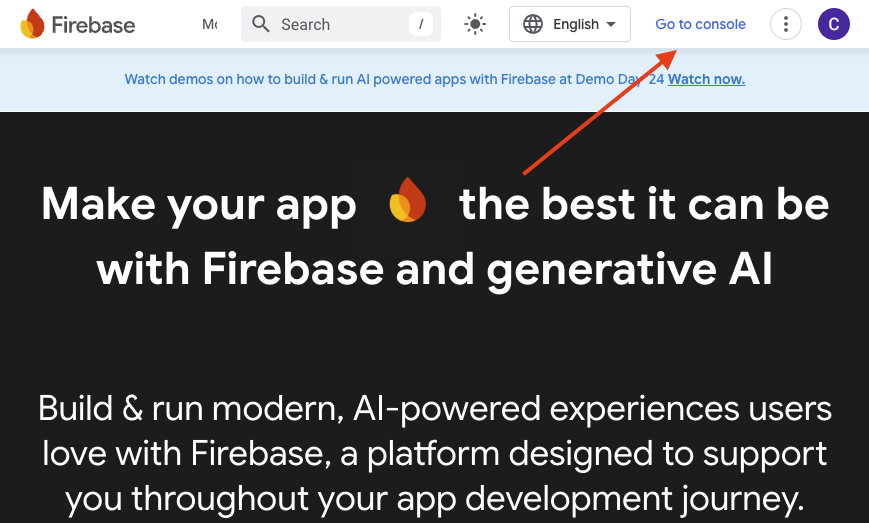
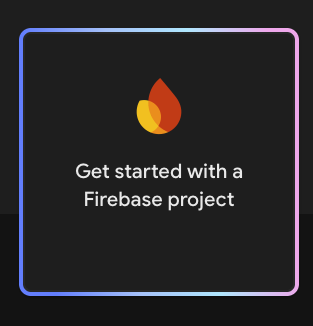
- Go to the Firebase Console and create a new project. Name it (e.g.,
web-book-shelf) and include Google Analytics if desired.
- Access the Firebase Hosting section and click “Get started”.
Follow the simple instructions by selecting a project name, this can be anything, it does not really matter, I will go with `web-book-shelf` just to be able to differentiate with my other projects.
Suggestion: if you decide to include Google Analytics, use the default settings:

- What we are really interested in is Firebase hosting, which you can access with this with the big icon or on the side panel:
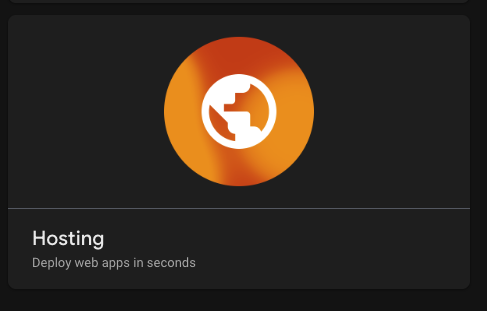
- You can find this section in two places, at the beginning and on the project overview side panel:
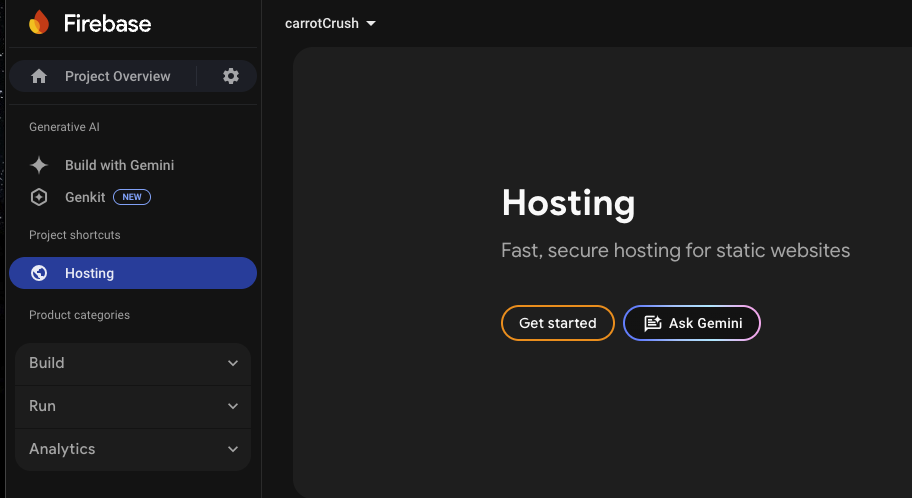
- Click, “Get started”
We are now going to jump from Firebase console to the local terminal and back to Firebase console, please be patient!
- You'll see this view:
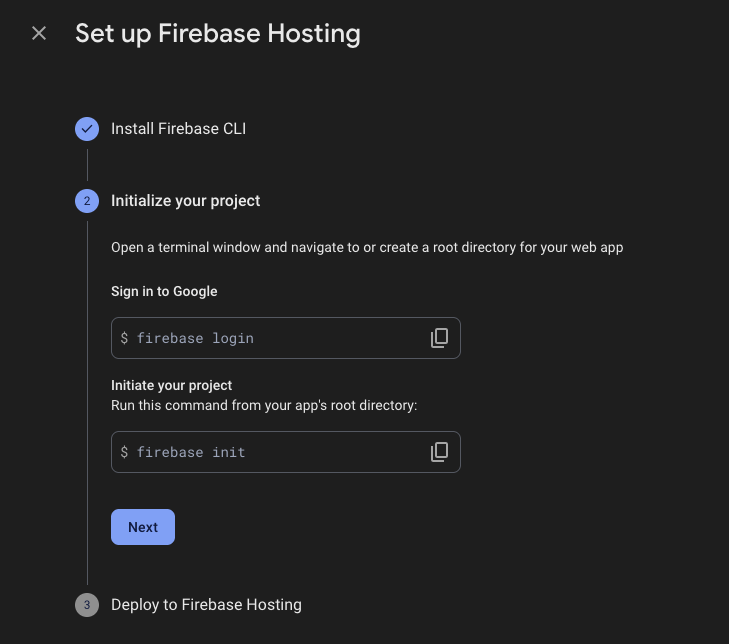
- On your machine terminal, Install Firebase CLI, make sure you have your location in the same folder of the Next Js project:
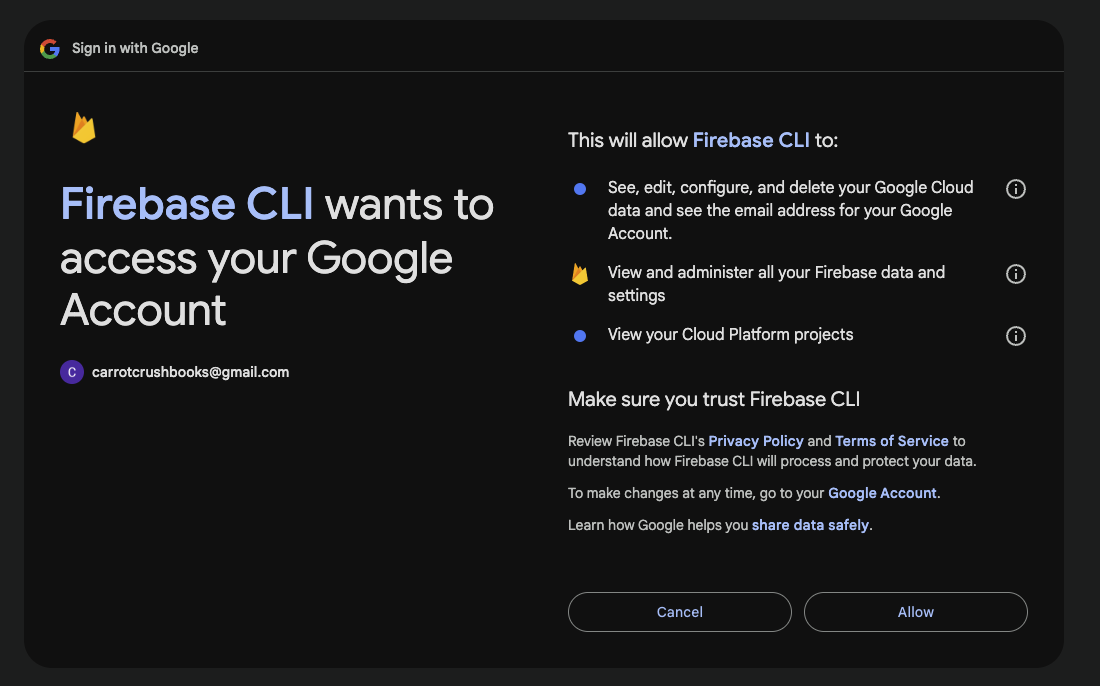
npm install -g firebase-tools- After that, you will need to link your Firebase account with Google, the same Gmail account you created the Firebase project with.
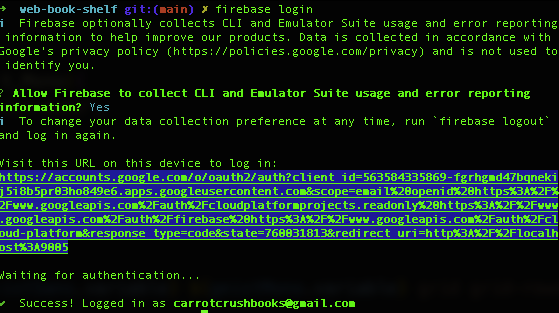
These steps are the same as the previous image, but explained:
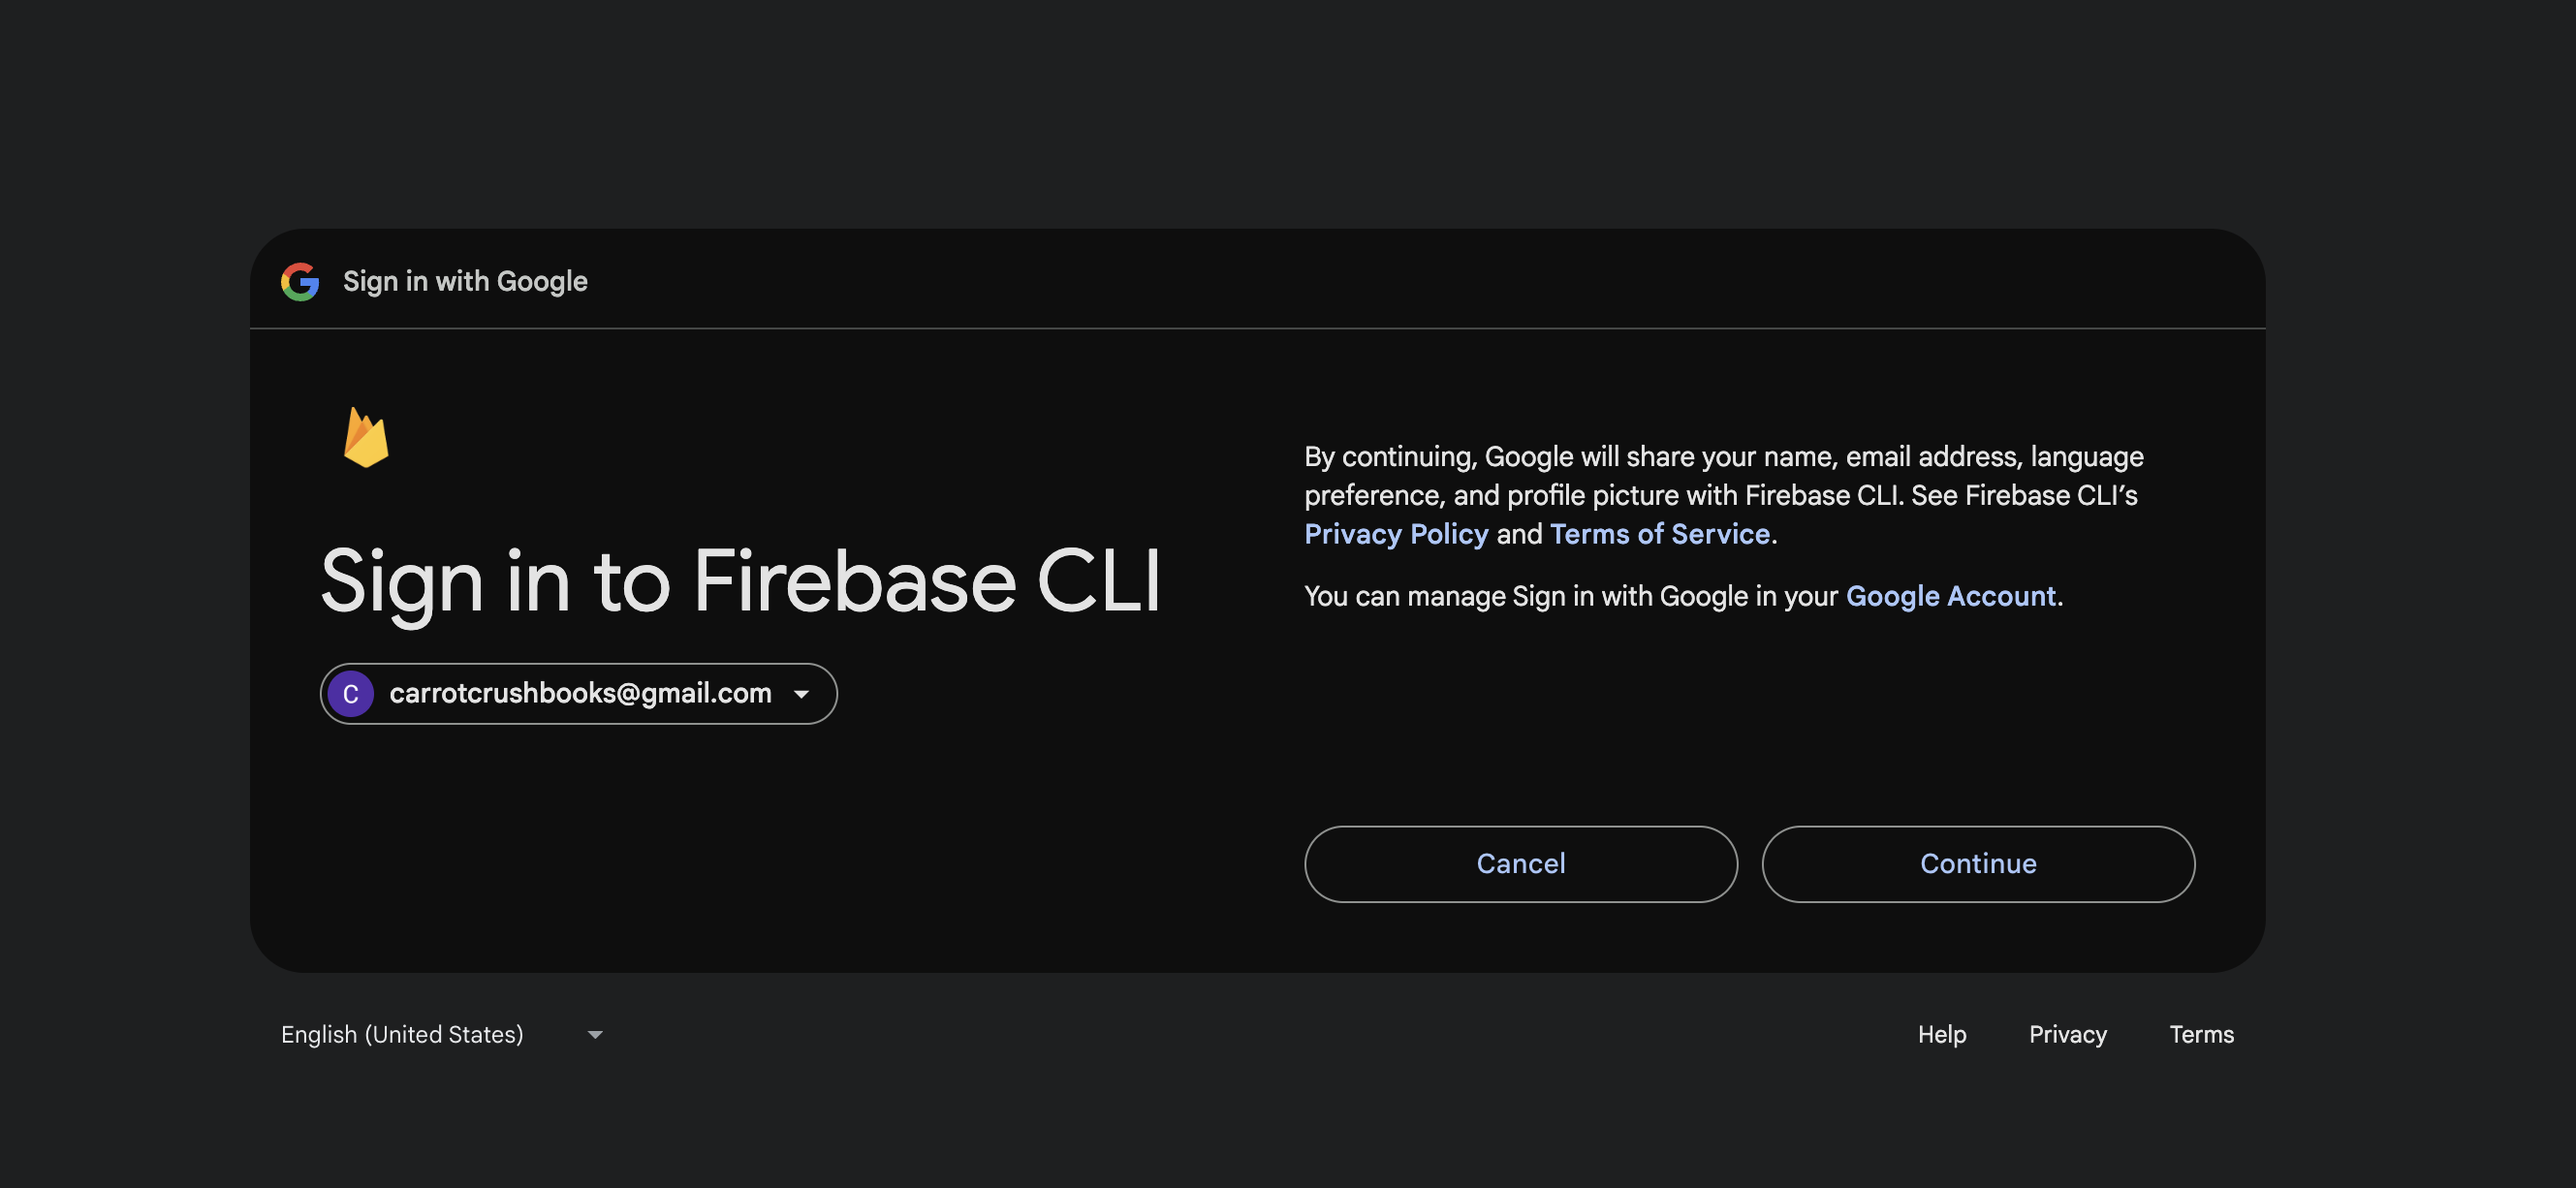
firebase loginLogin to Firebase using your Gmail account to provide access to your new hosting configuration.
- This should create a link for you to follow the authentication:
- Now, let's initialize the hosting setup locally in our project:
firebase initThis will initialize Firebase in your project directory.
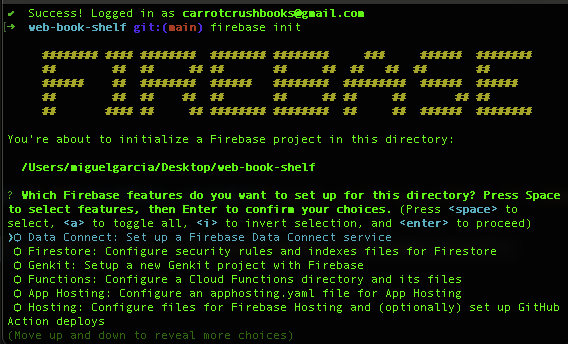
We are going to use the next options:
Use an existing projectSelect a default Firebase project for this directory(Select the Firebase project you just created)Detected an existing Next.js codebase in the current directory, should we use this? (Y/n)type 'y' and enterIn which region would you like to host server-side content, if applicable?

Set up automatic builds and deploys with GitHub? (y/N)- This will auto generate the project production build and send it to Firebase hosting to be deployed. Type:Y.- Now we need to link our GitHub account, we are going to use GitHub actions for automatic builds.
- A browser window will pop up for you to login. Select the recently created Next.js project.

Set up the workflow to run a build script before every deploy?- TypeY.What script should be run before every deploy?Press enter to create a defaultYMLfile.Set up automatic deployment to your site's live channel when a PR is merged?typeyWhat is the name of the GitHub branch associated with your site's live channel?press enter, this will grab the only branch."If you want to create a custom release branch, type the name of it.

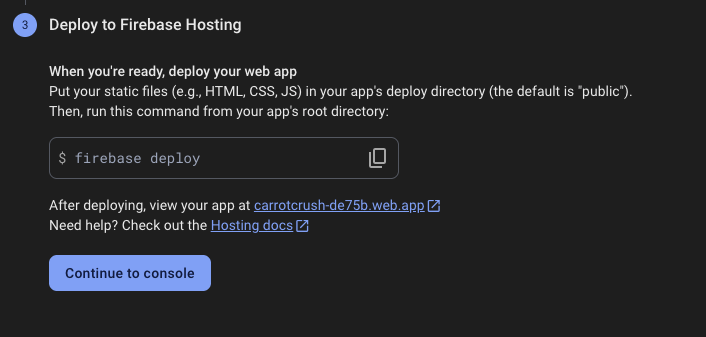
Now, back to the Firebase console on your browser, and click next:

- We are going to see the last part of this setup, deploying is automatic now in our project, if at any point you need to do it manually, use this command
firebase deploy:
Step 4: Finalize Configuration using your IDE
Update Workflow Files
You will see that 4 new files were created:
.firebasercFirebase configuration file for project setupfirebase.jsonFirebase hosting configuration.github/workflows/firebase-hosting-merge.ymland.github/workflows/firebase-hosting-pull-request.ymlGitHub Actions workflows for Firebase Hosting deployment
Even though the pipeline YML files are named firebase-hosting-merge.yml and firebase-hosting-pull-request.yml for our main purpuse will work with any commit or branch merged to main. We are not going in detail on these files, I encourage you to add anything or remove as you need to adapt to your release process.
- Edit
.github/workflows/firebase-hosting-merge.ymlto ensure builds run correctly before deployment. Replace:
run: npm ciwith:
run: npm ci && npm run build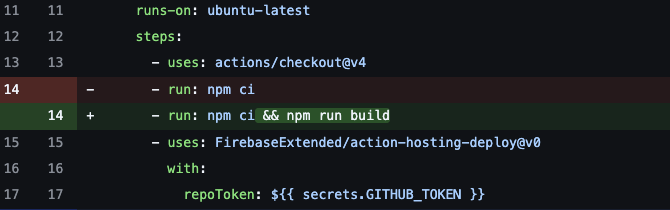
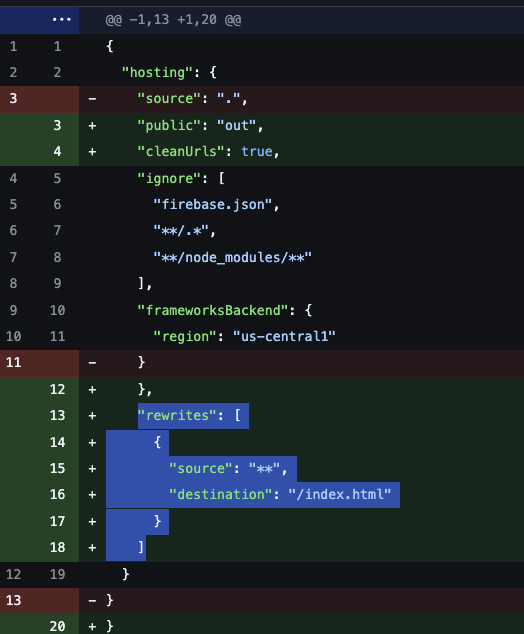
Update firebase.json
- Modify the Firebase configuration to match the Next.js setup. Replace:
"source": "."with:
"public": "out",
"cleanUrls": true,
"rewrites": [
  { "source": "**", "destination": "/index.html" }
]
Update next.config.mjs
- In your Next.js configuration file, include the following:
const nextConfig = {
  swcMinify: true,
  output: 'export',
  images: {
    unoptimized: true,
    formats: ['image/avif', 'image/webp'],
  },
};

module.exports = nextConfig;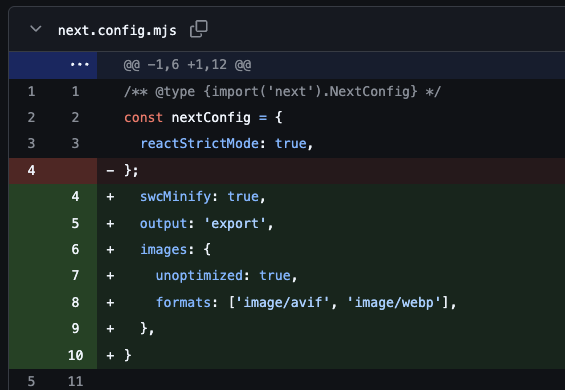
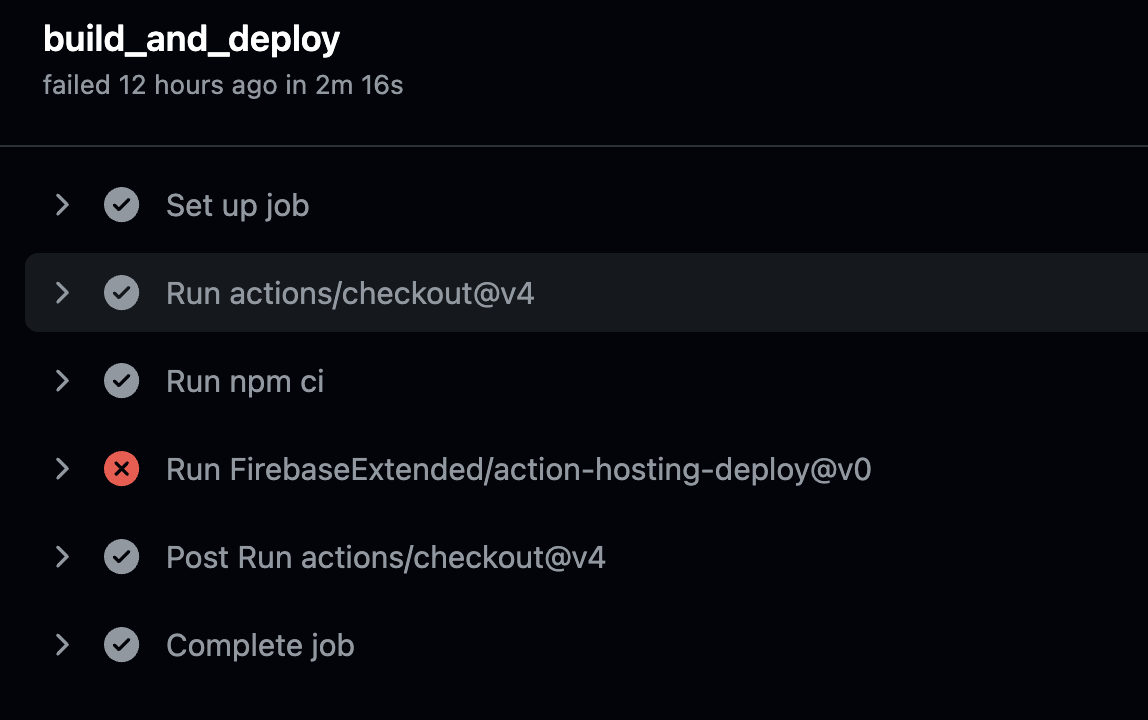
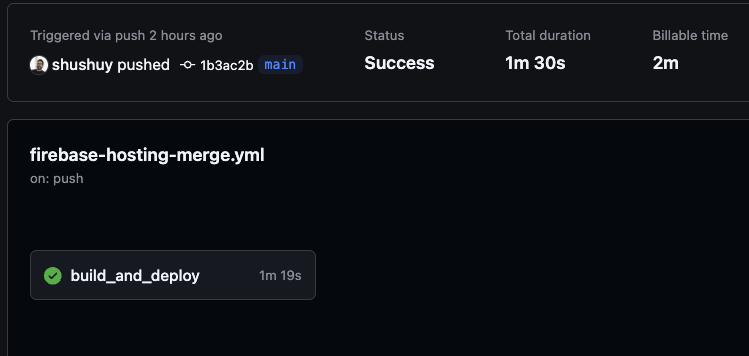
main is modified by a commit or any merge to this branchStep 5: Deploy and Verify
- Commit any changes to the
mainbranch. This will trigger an automatic deployment to Firebase Hosting. - Verify deployment in the Firebase Console under Hosting. You’ll see your app live on Firebase’s free domain.
- You might be thinking, "but wait, where is my web app?" Go to the Firebase console and you will see your free URL 😄.
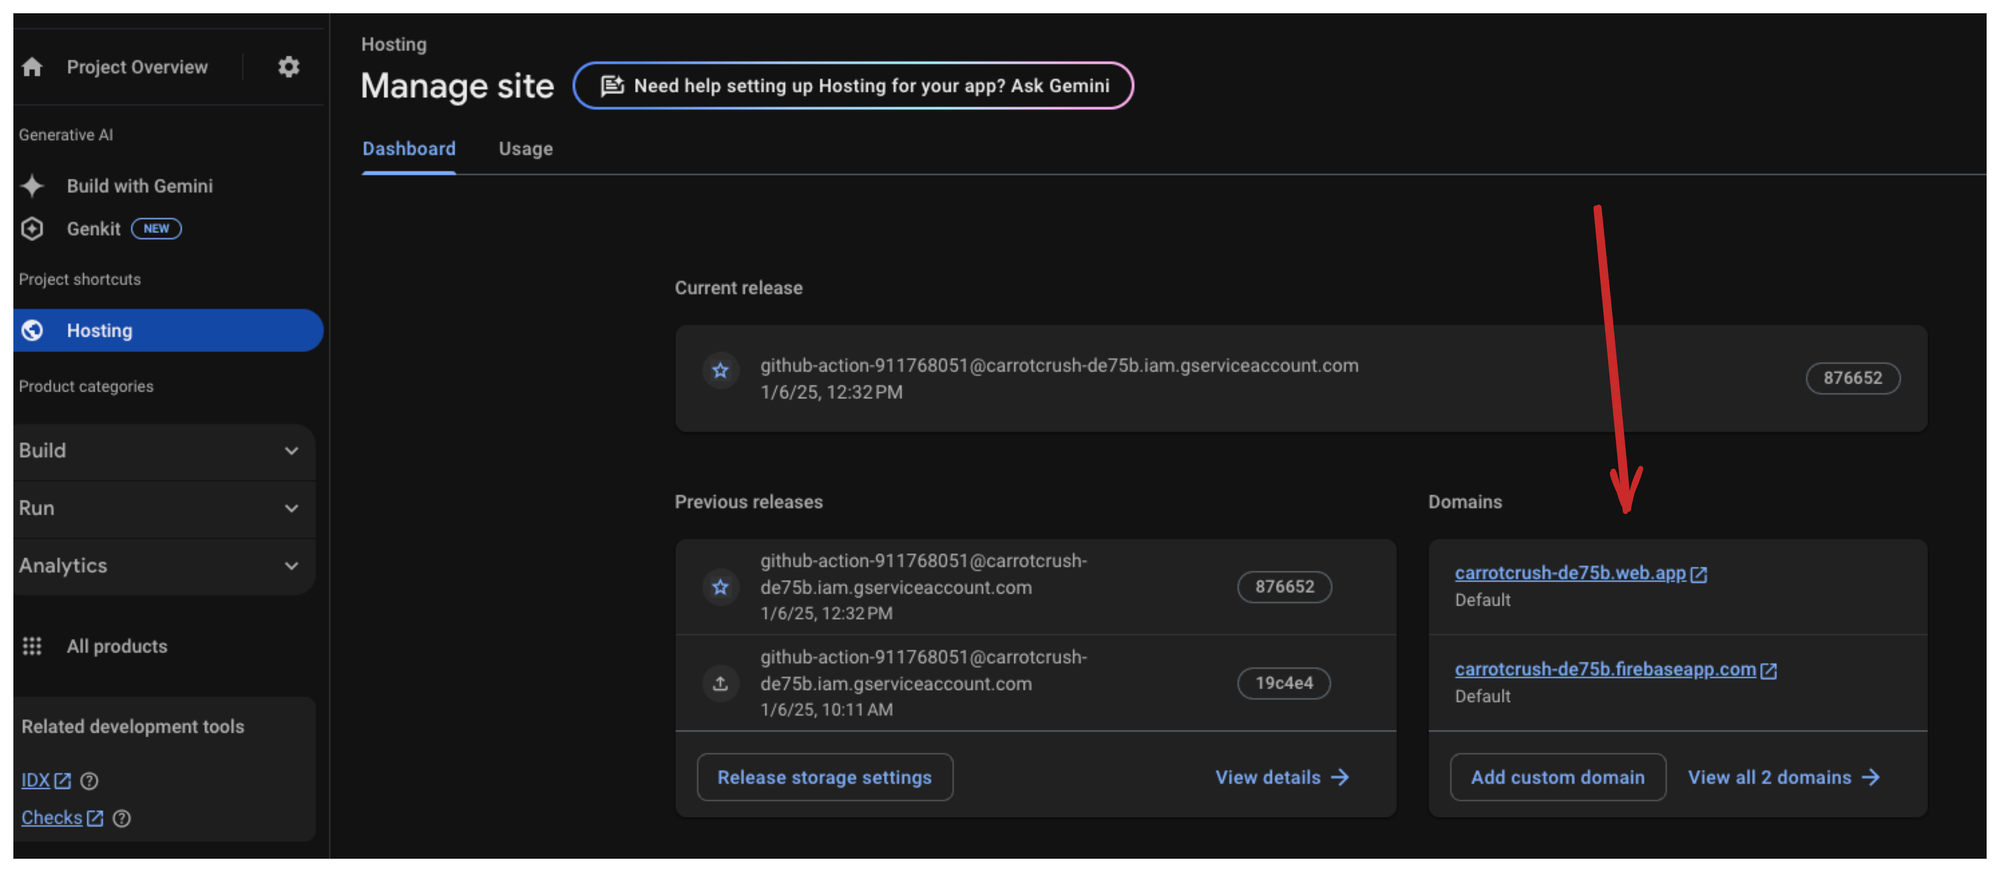
You will notice that each deploy is reflected in Firebase hosting and will automatically update our own free domain!
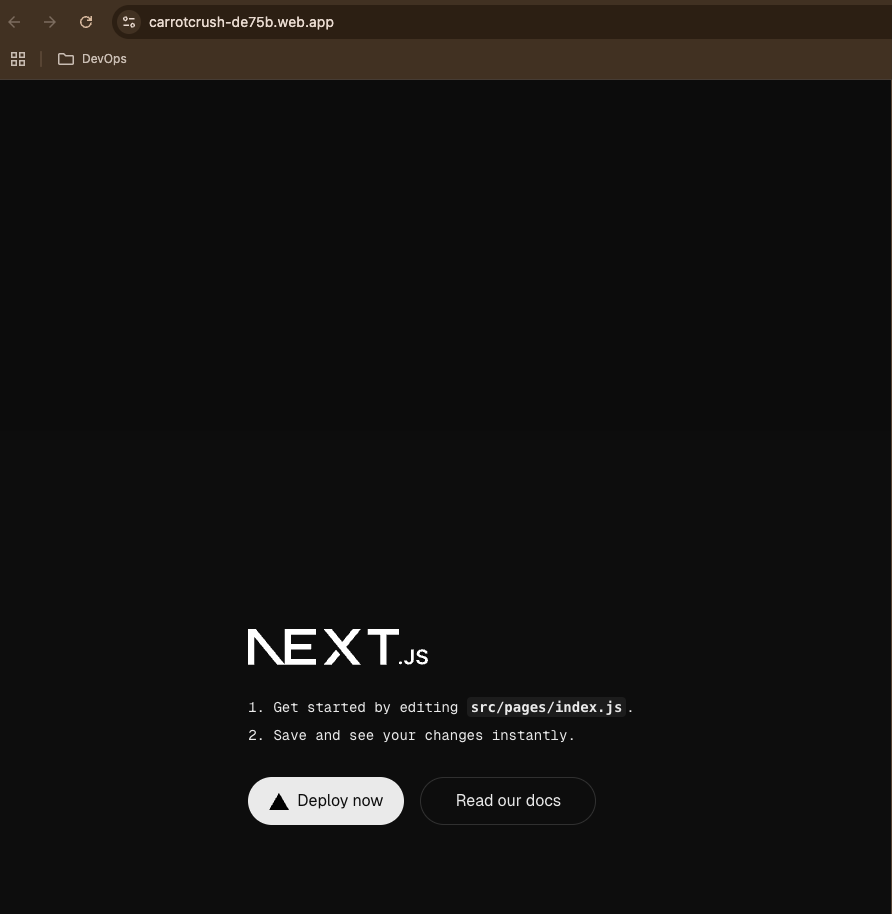
Now the app should be live 😄.
Optional: Set Up a Custom Domain
If you require a more professional website, a free domain will not solve this for you, so the next steps are to wire your custom domain.
First, purchase a domain from providers like Squarespace, follow the instructions to buy a domain. It's really simple, the hardest part is to find something you like available.
After you have access to your new domain, in Firebase Hosting, click "Add custom domain".
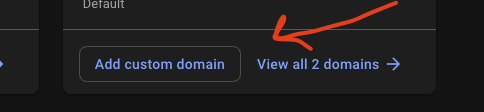
Follow the DNS configuration instructions provided by Firebase.
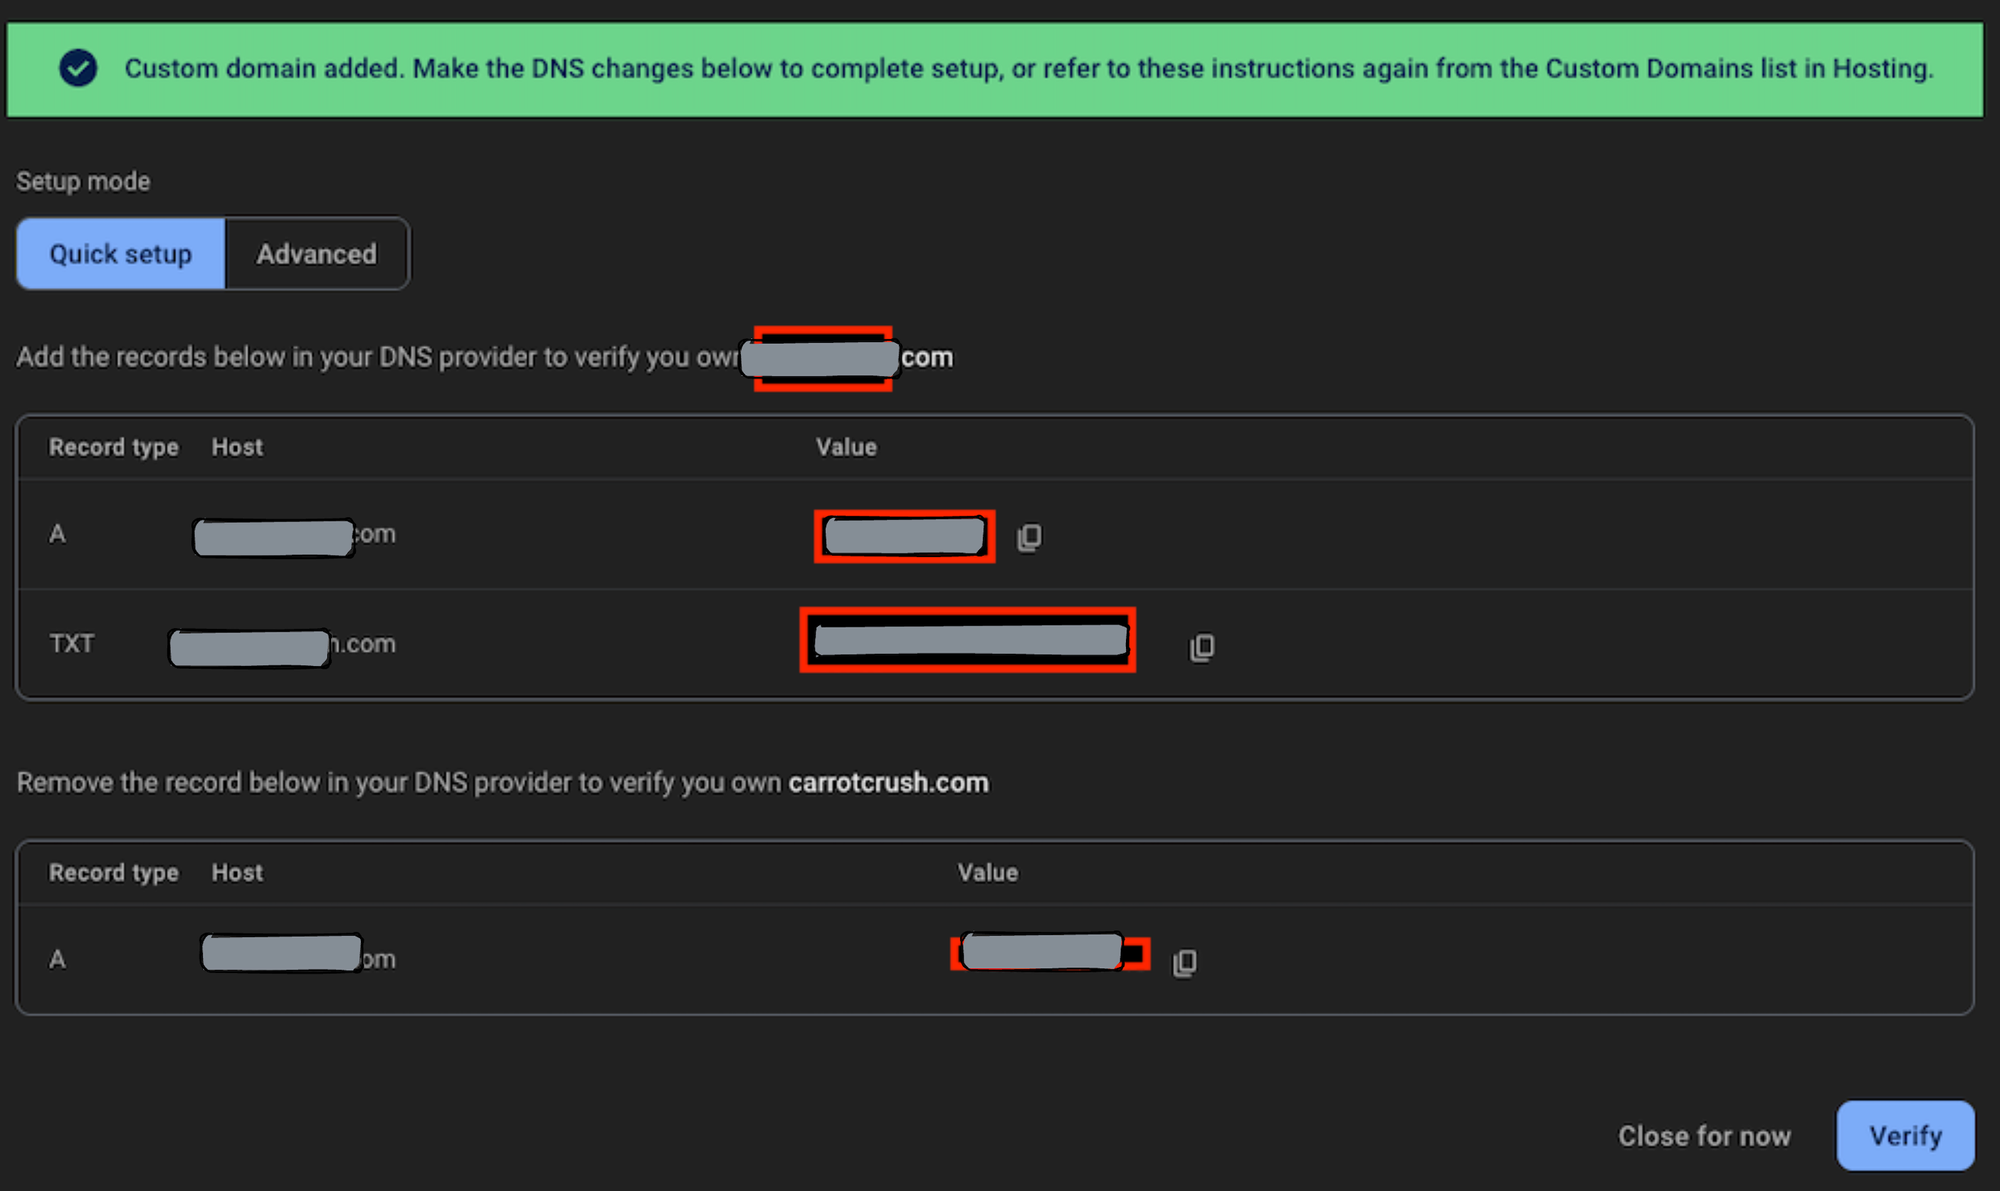
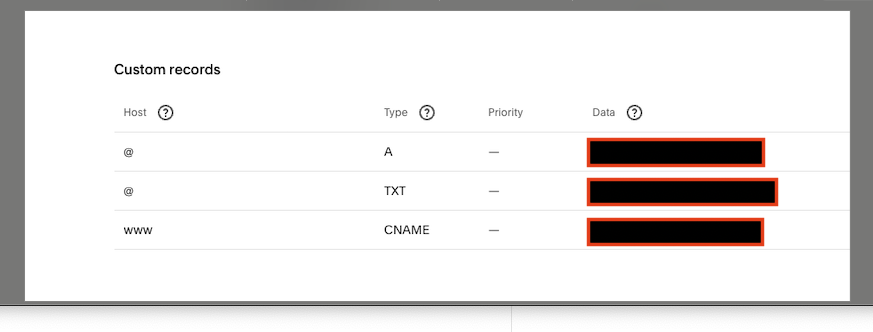
Since this is dynamic, and you can be asked for a few different types of custom records, use the images for illustration purposes only, for CNAME I used the default domain URL provided by Firebase Hosting ending in web.appWait 12–24 hours for your custom domain to propagate.
Conclusion
Congratulations! You’ve successfully deployed a Next.js application using Firebase Hosting. With the automated deployment pipeline up, every commit to the main branch (including merging branches) triggers a fresh deployment. I know that in an ideal world, we should not merge directly to master, so you can explore locking direct commits, and create strategies to make this process as a smooth as you need.
The most amazing thing about an automated pipeline process is that it frees you from the hassle of manual updates, allowing you to focus entirely on coding and feature development.
With Firebase Hosting, you benefit from robust performance, global CDN distribution, and easy scalability. Plus, integrating a custom domain gives your app a professional touch.
From here, you can explore additional Firebase features like Firestore for real-time databases, app notifications, Authentication for secure user login, or Cloud Functions for serverless backend logic.
Feel free to experiment, enhance, and share your progress with the community. The journey of building and deploying apps is as rewarding as the final product itself.
Thank you for reading!
Note: Some of the views and console messages will be updated over time, but you should be fine.