Cross-Platform UI Testing with Specflow, Xamarin, and CodedUI: Part 3

Welcome to Part 3 of my blog series on cross-platform UI testing. For those who are just joining us, in Part 1 we discussed the high-level strategy for cross-platform UI testing using Xamarin.UITest and CodedUI, and introduced SpecFlow as the glue that holds everything together. I also identified a couple of external resources that helped me put this together including Rob Gibbens' article about BDD Tests with Xamarin.UITest and SpecFlow; and finally we created initial cross-platform . In Part 2 of this series, we took a big step towards implementing Xamarin.UITest patterns on windows by implementing Xamarin's IApp interface and defining a startup process so we could control the application's lifecycle. In this post we will complete our journey by defining screens, creating CodedUI UIMaps, setting up our Xamarin project and ultimately creating our first tests using SpecFlow and Gherkin.
Okay, let's pick up where we left off. Last time we had just created the AppInitializer class. If you review the source repository for this article, you'll see that we sill have a ways to go. We'll start by finishing out the windows boilerplate with the WindowsFeatureBase class.
Create WindowsFeatureBase
If you followed along with Rob's tutorial, you'll notice he relies on NUnit's TestFixture() attribute to execute the tests on the appropriate platform. Since we're using MSTest on Windows, this won't work. Instead we need to inherit the abstract FeatureBase class we created earlier into another abstract platform base class in the windows project and decorate it accordingly. We will also initialize the app when each test class is run, set up screens, and take advantage of SpecFlow’s FeatureContext.Current service locator.
In this class, we are using the MSTest attributes to handle startup and shutdown of the application. We are also defining our screens in the RegisterScreens overload.
Defining Screens
At this point we are ready to start defining the structure of our application. In most cross platform applications, it is considered good design to allow ViewModels to represent screens/pages (or parts of screens) and to let these items be cross platform. We are going to follow this pattern in our test suite. We will create an interface for each screen we want to test and inherit the IScreen class we created earlier. Then define the friendly names for each UI property we want to test. Lastly, we will create a platform implementation of this new interface that references the string literal friendly Id’s used in each of the UI project’s views.
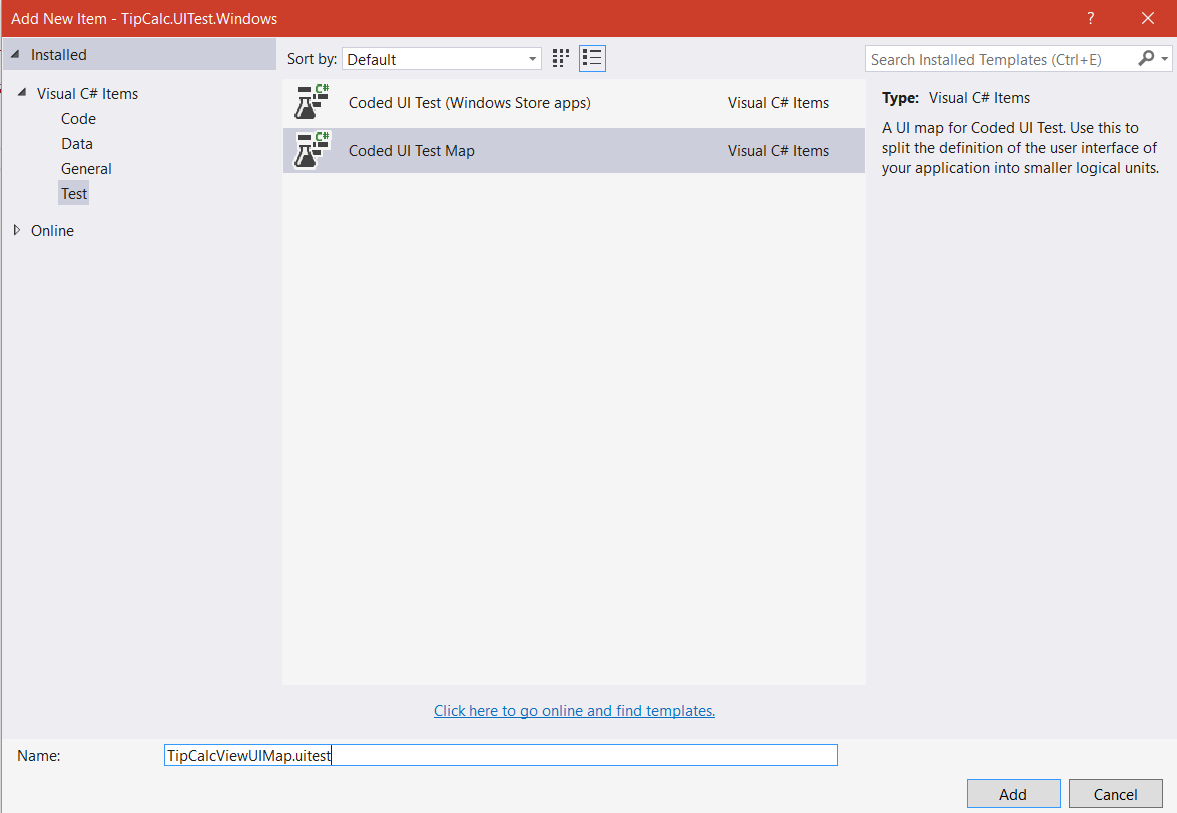
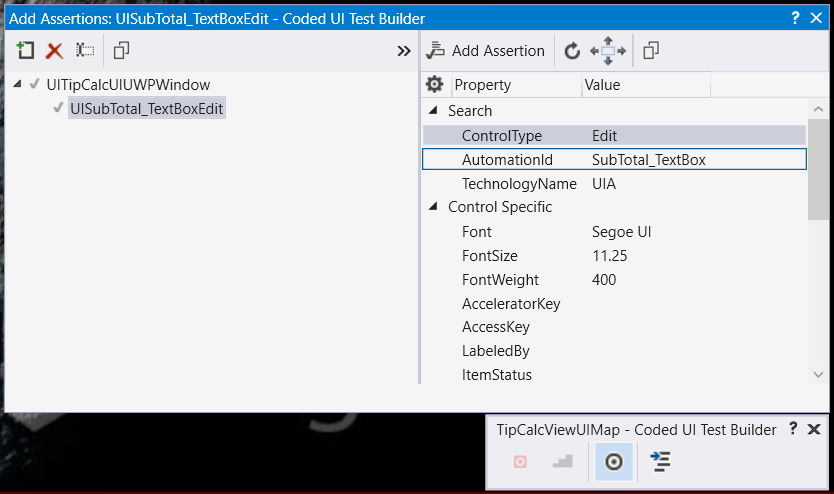
Create CodedUI UIMaps
Next on our path to enlightenment is to create the CodedUI bindings and instantiate them in our WindowsFeatureBase class. This process works exactly like it does in a standard CoidedUI project. Deploy the UWP App, and create a new UIMap file, then fire up the application and use the crosshairs tool to create a map of the UI. It is important that the SubTotalEntry and TipAmount controls under test have Automation ID’s that matches to the string names we gave to the ITipCAlcScreen implementation. After the UIMap is generated, inherit UIMapBase in the partial codebehind and add to the dictionary on WindowsApp.cs
Set Up TipCalc.UITest.Xamarin
Setting up Xamarin for SpecFlow is much easier since the IApp interfaces are already implemented. If you have not already done so, create another class library and add SpecFlow and Xamarin.UITest Nuget packages. We're also going to add NUnit. Reference the Shared library just like you did for Windows. We're also going to subclass FeatureBase in the Xamarin project just like we did for windows, but add the nUnit TestFixture() annotations to this XamarinFeatureBase class. We’ll also need to implement a concrete screen for each IScreen we are placing under test. Be sure to make sure the UI project’s Id fields match the strings you specify.
Xamarin.UITest relies on annotations to determine which devices should execute a test. You will also need to define simulator and emulator devices for your machine.
Creating Features
Whew, we made it. Now we are all set to initialize the correct application and prepare the test for execution on any platform. It’s time to create our tests; SpecFlow uses code generation to translate Gherkin .feature files into generated classes. That means that we need generated files for both MSTest and NUnit. This obviously presents a problem as we don't want to regenerate these files every time we want to run these tests. Essentially we need one set of gherkin files to generate two class with the same methods and different annotations. There are ways to get around this limitation, most of them are quite complex - so I cheated. Here's what I did. If you can think of something better, please let me know:
- I resolved to use a naming convention for my .feature files and I create one for .Windows and one for .Xamarin. (Example: MyCoolFeature.Windows.feature, MyCoolFeature.Xamarin.feature). Yes, I'm maintaining my feature files in 2 places, but I found this to be easiest for now.
- By naming the files like this, the C# classes SpecFlow generates have the same class name with different namespaces.
- I remove the SpecFlow "SingleFileGenerator" custom tool from the .feature files in the Shared project. This unlinks the generated files.
- I add the .feature files to each respective project "As Link" but make sure the custom generator is still there. This will cause the feature files to generate two different C# classes with the same name, but different namespaces references in each platform project.
- Create a second “partial” that can be used for extensibility and is not overwritten if the feature files are regenerated. Inherit the proper platform featurebase
- In the Xamarin project’s “partial” implement the proper constructor.
Notice that the generated files have the same class name with different namespaces, and the windows file is decorated with the proper Microsoft.VisualStudio.TestTools.UITesting attributes:
Notice that the Xamarin file uses NUnit:
Once the files are created, create the partial:
Generating Steps
Now generate a SpecFlow Step Definition file for either the .windows or the .xamarin feature file from the shared library. You'll notice that since the classes have the same name, they both now reference the same step definition. That's magic!
Now let’s create a StepsBase.cs class to inherit some common logic and implement our steps. You need to get a handle to the application, and to the appropriate screen context.
Let’s Run!
We are finally ready to run our test – so deploy the Windows UWP app, get your installed AppID (by running the PowerShell script from earlier), drop it into the Constants file and press play in your test runner of choice.
Now that everything is in place, you can use this framework to do some really cool testing like:
- Ensure multilingual interfaces properly resolve the appropriate string resources for the language/region
- Run field validation tests for input boxes (such as regex values)
- Ensure changes in layout and design do not break the defined workflows of your application
- Test your application on multiple instances of multiple devices
- Automate testing features that only work on real hardware like GPS, Push Notifications, or native code
Conclusion:
As you can see, there is a ton of infrastructure required to make this work, but in my opinion it is worth the effort especially for projects with tight development release cycles. Hopefully you found this article helpful and please feel free to ping me @AddressXception if you have any questions or comments.
Join us next time as I will demonstrate how to integrate our work into a build pipeline on Android, iOS, and Windows.
Follow me on twitter @AddressXception